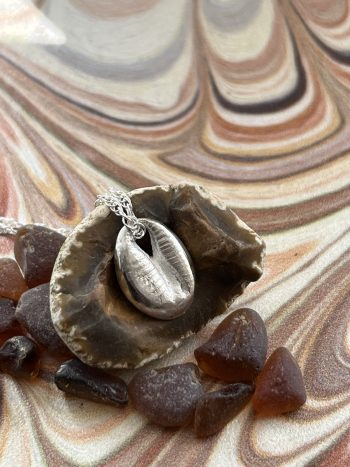
Use silver clay and mouldable plastic to create your very own shell pendant – perfect for summer beach days.
Step 1
Place the modelling material in a cup of boiling hot water until it looks shiny and soft.
Carefully remove the material using tweezers or a spoon. The material could get very melty so handle gently.
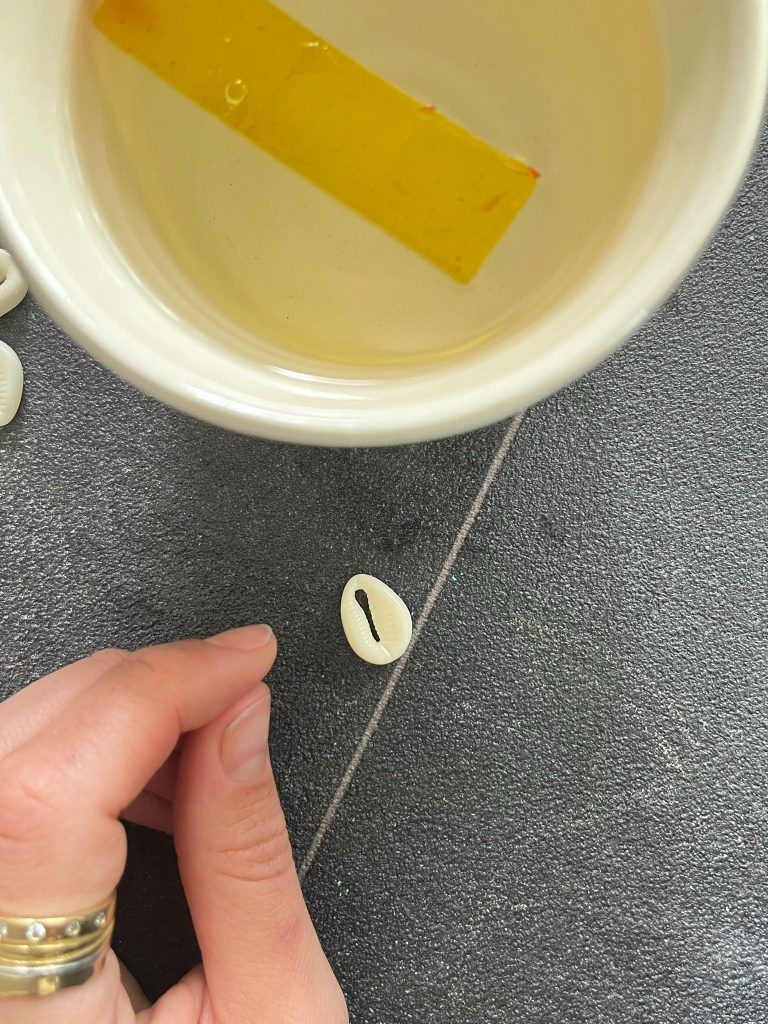
The modelling material may differ in colour. If the modelling material is not pliable enough add more hot and put the material back into the cup for a few minutes.
Step 2
Push the object into the warm soft modelling material and leave to cool. Remove the object and check the modelling material has picked up all the detail.
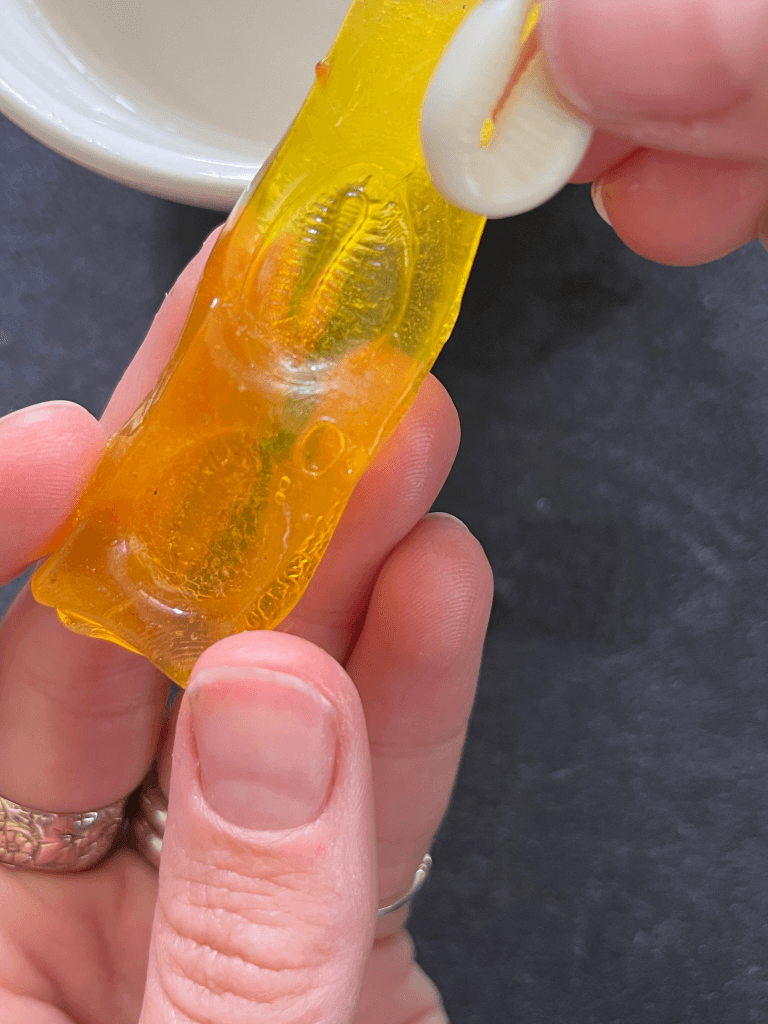
Objects such as beads, shells and fossils have great tiny detail to make a mold with.
Step 3
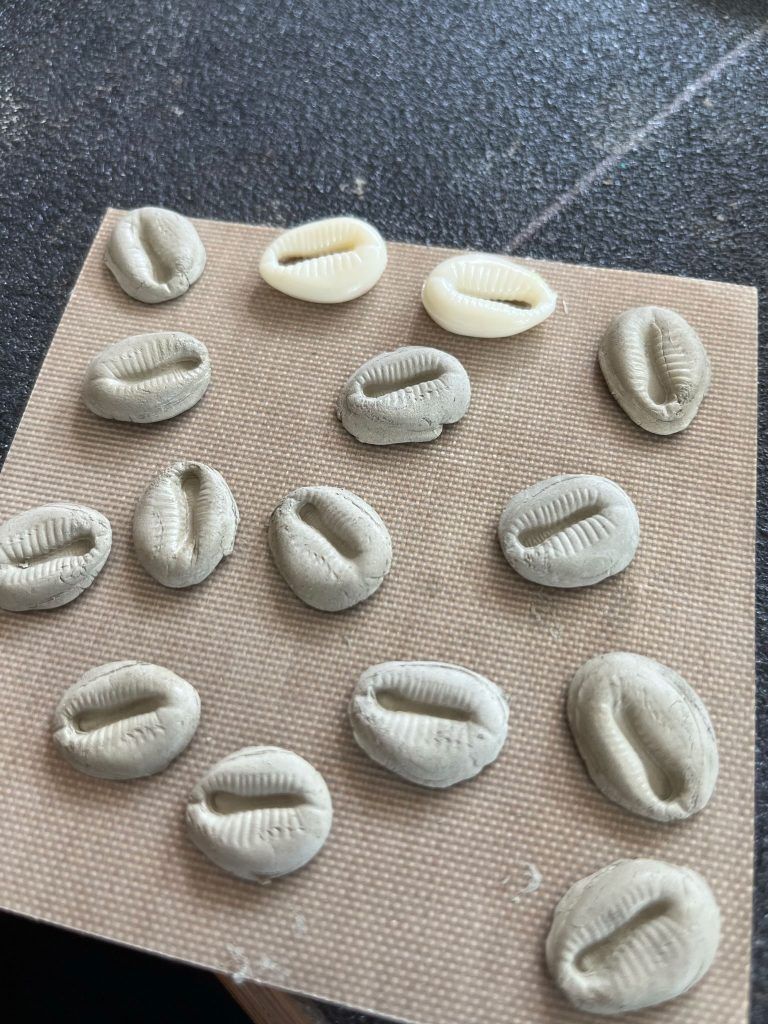
Take a piece of silver clay large enough to fill the mould. Condition the clay by gently rubbing it between your fingers ensuring there are no cracks in it and then push it into the mould.
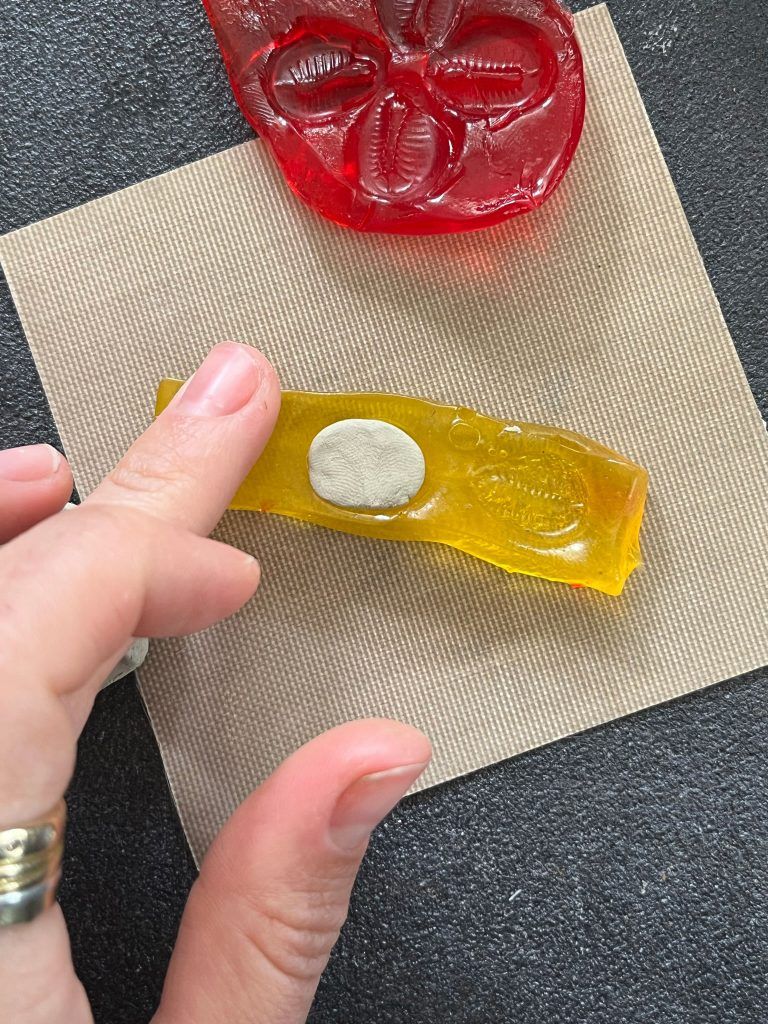
You can use Metal Clay Balm or Natures Touch Balm on your fingers or in the mould to prevent the clay sticking.
Step 4
Remove the silver clay from the mouldable material and leave the clay to dry. Larger pieces of clay will take longer to dry. Left in a warm or sunny spot the clay should be fully dry after a few hours. To be fully sure your clay is dry leave it overnight.
If moisture is left in the clay when the clay is heated it could cause the finished piece to distort or break.
Step 5
When fully dry use needle files to gently file away excess clay and use emery sticks or micromesh to smooth any areas.
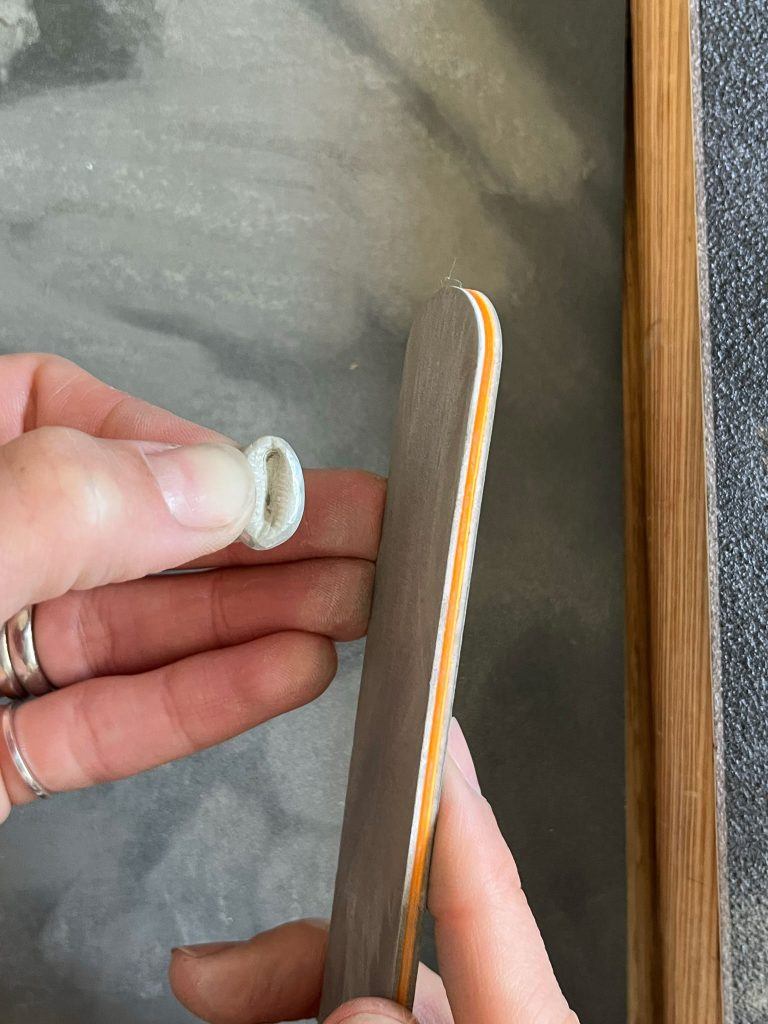
The clay can be brittle at this stage so be gentle. It is easier to shape unfired silver clay than when it has been fired so take your time at this stage to make your clay the best it can.
Save all the silver dust as this can be used as silver slip or refined. Make sure you do not breathe in any dust.
Step 6
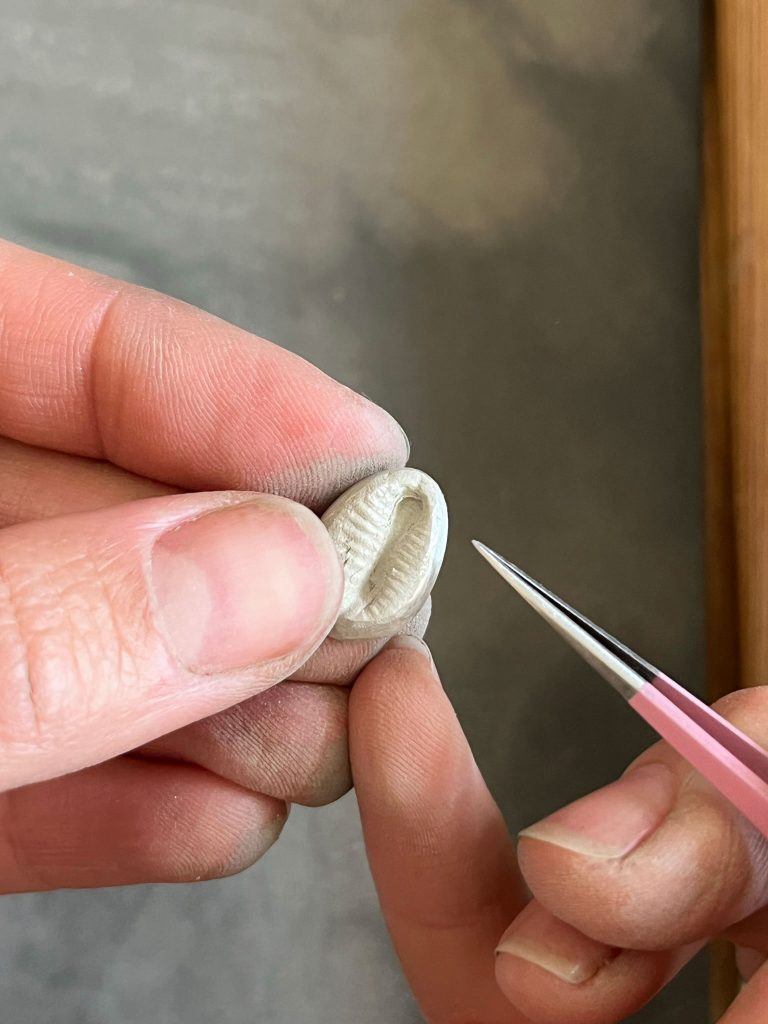
Add a hole to your clay shape using a drill bit or in this case the middle of the cowrie shell can be gently pushed out.
The hole must be at least 50% larger than the chain as the silver clay will shrink and the pendant needs to move freely on the chain.
Step 7
Use a blow torch or kiln to fire your silver clay. Follow the instructions on the packet of silver clay.
Generally for torch firing silver clay the binder is burned off using the blow torch first. The silver clay will smoke for a few moments and then the clay should be heated evenly with the blow torch 3 minutes. The clay should glow gently red/orange.
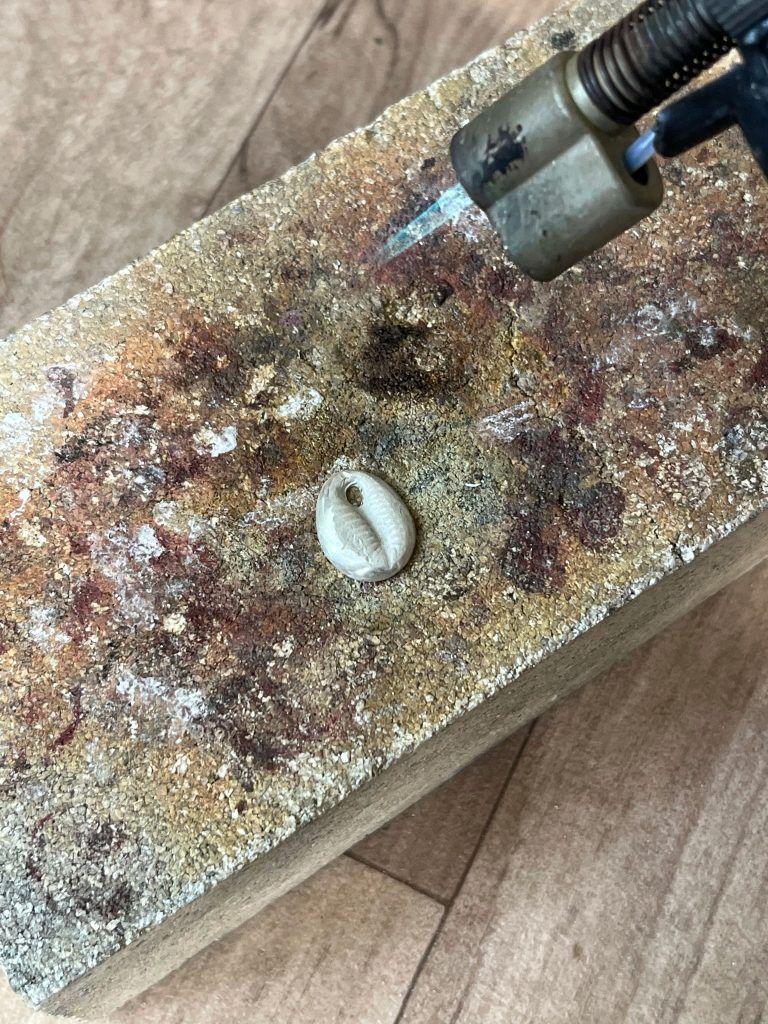
It is best to keep a close eye of the clay when heating, if the surface looks shiny and silver this is an indication it has got too hot and has or is about to melt.
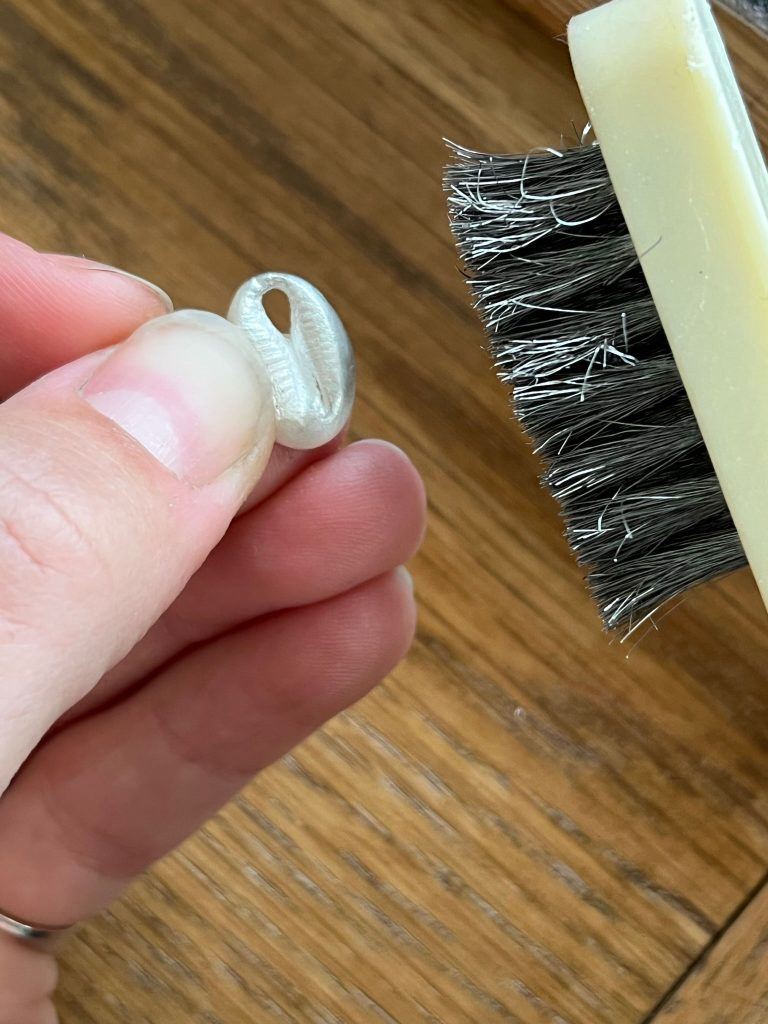
Step 8
When cool brush the silver with a wire brush. You could also use a polishing cloth to add shine.
Step 9
Thread a silver chain through the hole.
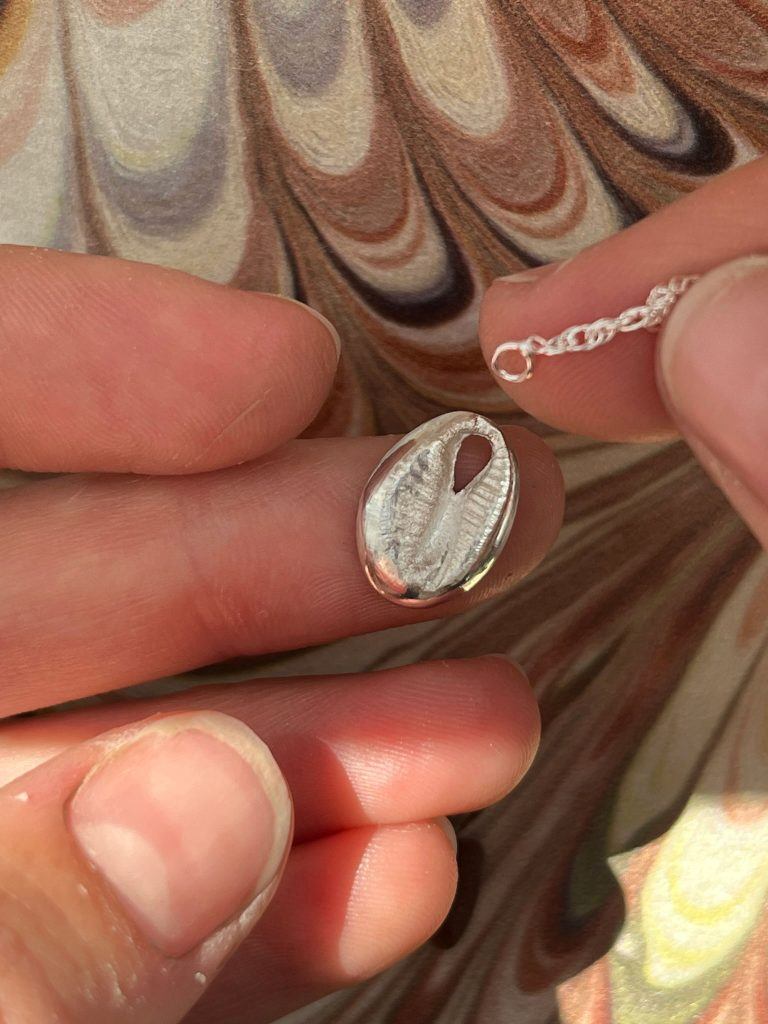
We hope you enjoyed making your Cowrie Shell Silver Clay Pendant. If you have any questions or want to know more, get in touch with us on Facebook, Twitter and Instagram. We’d also love to see what you’ve been making so please share pictures of your creations with us too, tagging Cooksongold.

Sian Brown
Sian has been hand making her award winning jewellery in the West Midlands for over 12 years. Sian spent 10 years in Birmingham’s historic Jewellery Quarter before relocating to a quiet Worcestershire village.