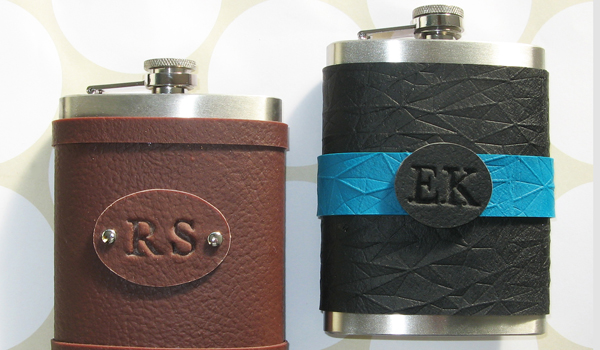
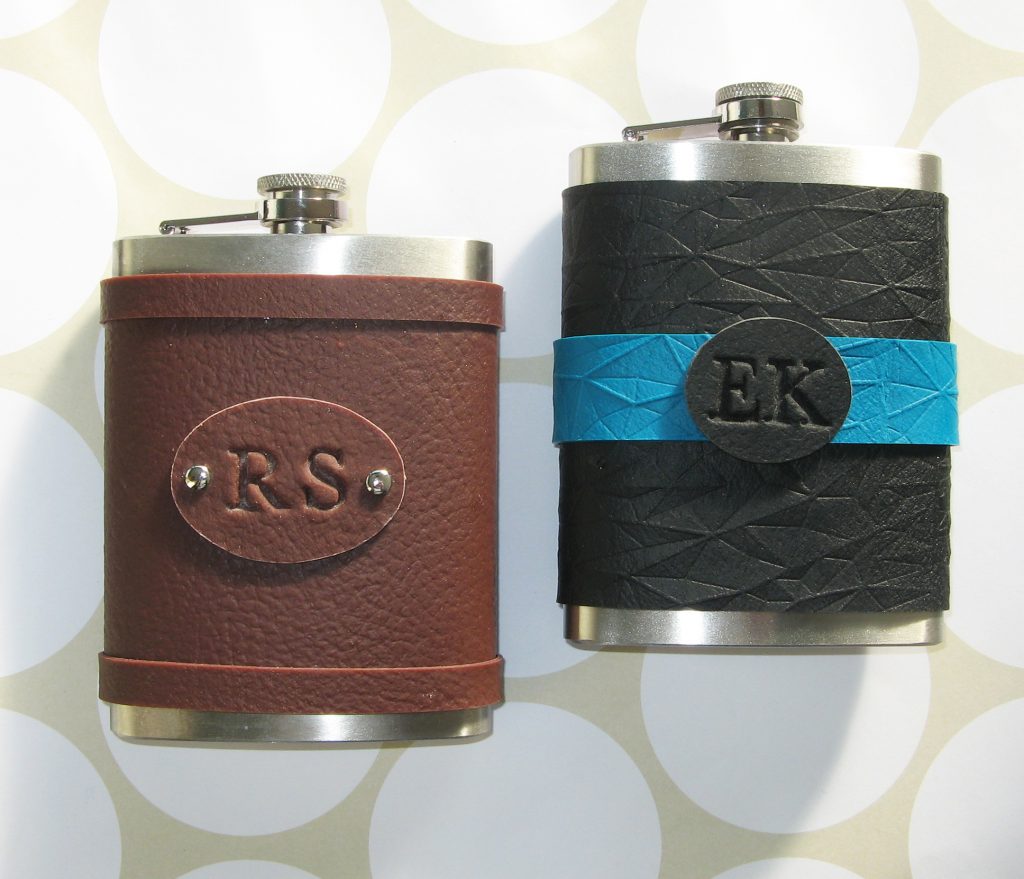
This project shows you how to make a FIMO leather-effect cover for an 8oz hip flask measuring 90 x 135 x 25mm
Step One
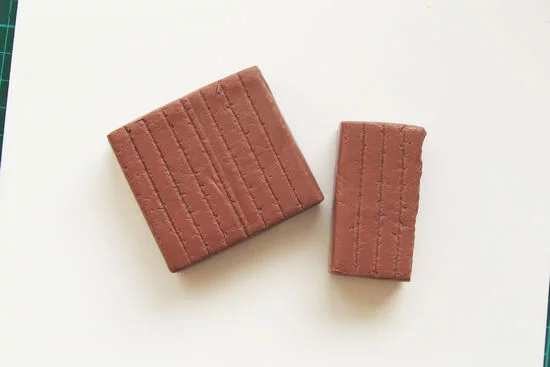
Place 1½ FIMO blocks on a large tile.
Step Two
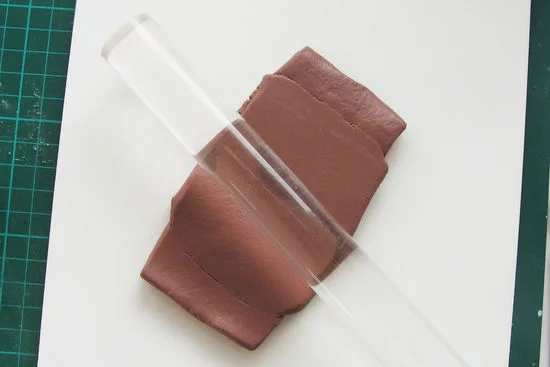
Flatten the FIMO with your fingers then roll the 2 pieces together.
Step Three
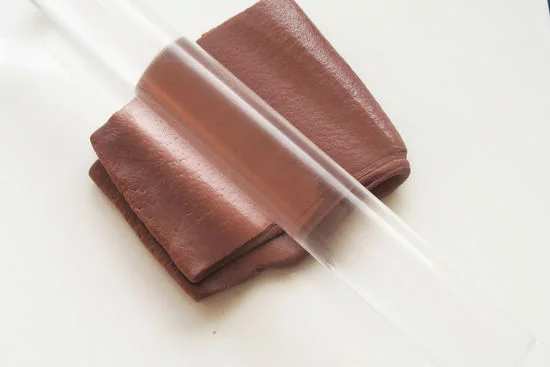
Roll the FIMO to a depth of 8mm then fold it over and re-roll. Gently lift and pull the edges of the FIMO to help shape it into a long rectangle, then roll again. Or use a FIMO clay rolling machine to do this on settings 1-4.
Step Four
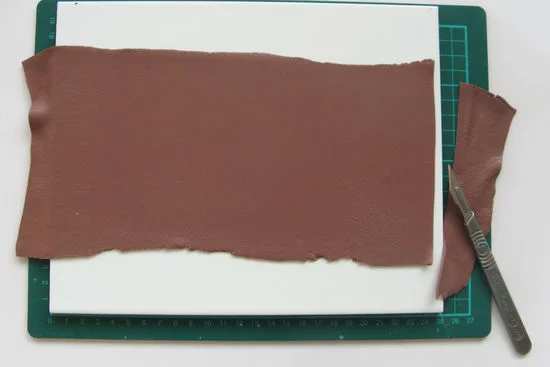
Keep rolling to make the rectangle 12cm x 25cm. The depth should be no more than 1mm. Trim off any overhanging FIMO from the ends. Or use a FIMO clay rolling machine to do this on setting number 6.
Step Five
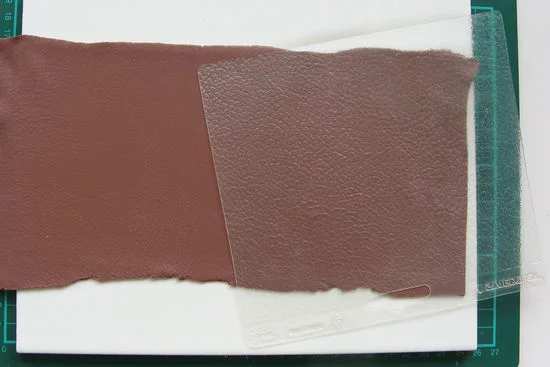
Press a ‘Leather’ texture sheet onto the rolled FIMO so the pattern is transferred onto the surface. Place the tile onto a baking tray.
Step Six
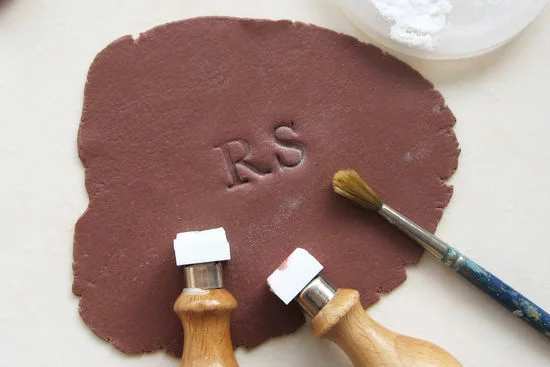
Shape some left over FIMO into a 3cm ball then roll it out to a depth of 2mm on a tile. Dip the stamp into bicarbonate of soda powder then press into the FIMO surface. Remove any excess powder with a soft brush.
Step Seven
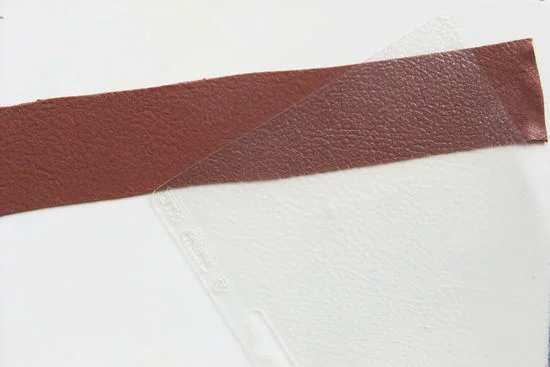
Roll out the remaining left over FIMO on a tile. Make a long strip 25cm x 3cm x 1mm
Step Eight
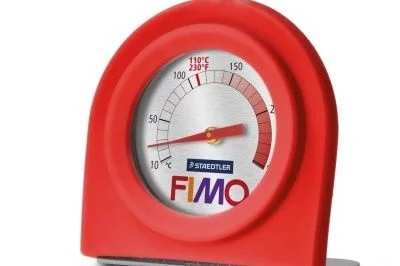
Place the tiles with the FIMO on a baking tray. Bake at 130°C for 30 minutes. Allow FIMO to cool before handling.
Step Nine
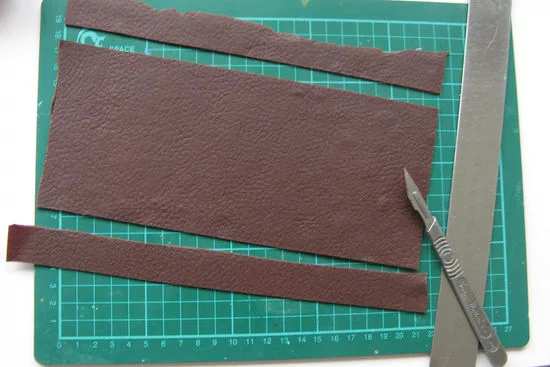
Trim the large rectangle to 10cm x 24cm
Step Ten
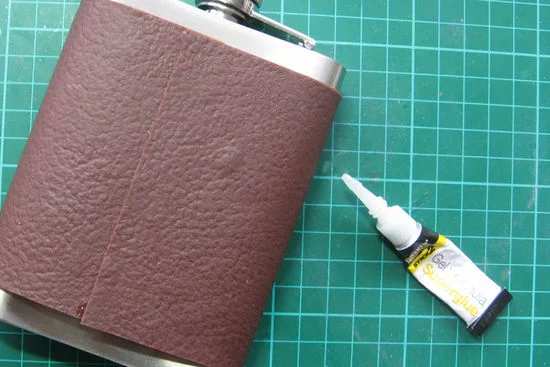
Wrap the baked FIMO around the hip flask. Glue the edges together with the join on the back.
Step Eleven
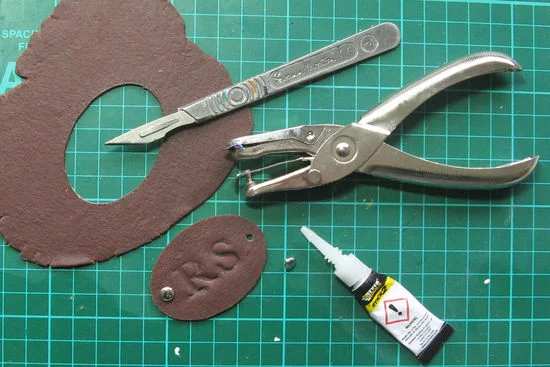
Cut out the stamped lettering as an ellipse, circle or rectangle. Punch holes on either side of the lettering then
push 2 rivet pieces through the FIMO with a small amount of glue. Glue the initials in the middle of the cover
Step Twelve
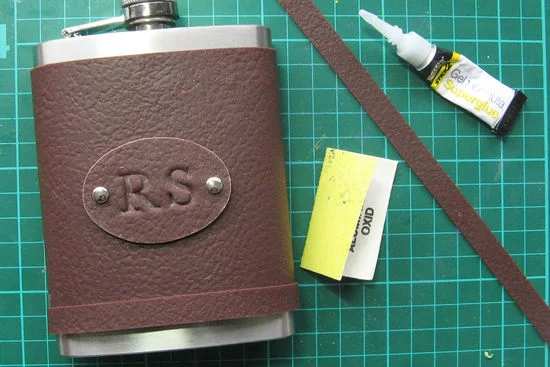
Cut off 2 pieces from the long FIMO strip, 1cm x 24cm then glue around the top and bottom of the cover
TIPS:
• Try using different FIMO leather-effect colour combinations and surface textures made with embossing folders or sheets.
• For a larger-sized hip flask, use more FIMO to make a bigger rolled strip.
• Keep your fingers clean with wet wipes so darker FIMO colours don’t transfer onto the lighter ones. Wipe and dry the tile before using a new FIMO colour.
• Take safety precautions and follow instructions for using superglue.
• To add rivets as decoration, just use the smaller half of a metal stud glued through a hole in the FIMO.
Shop all of our Fimo products and create your own Fimo item right now
See the downloadable version of this project to print or keep

Cooksongold