

Let your creativity wander and produce the most beautiful pendant with a design you desire. It’s a great new piece to add to any chain perfect to wear for yourself or a loved one.
See the following tutorial in video form below:
Step 1

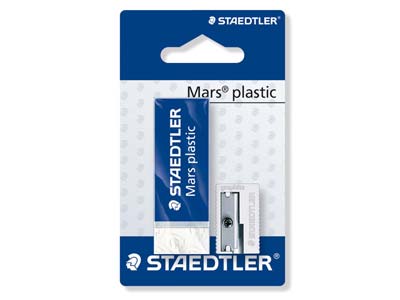
DRAW AND CUT OUT YOUR IMPRESSION
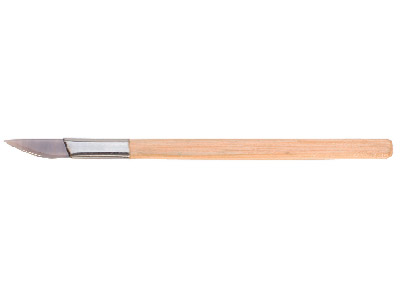
Draw out your design on the flat side of an eraser and cut out the impression using a lino cutter
or scalpel. The designs chosen in this project represent the star sign Aquarius. You can also use texture sheets or rubber stamps to create an impression in your metal clay.
Step 2

CREATE YOUR CLAY IMPRESSION
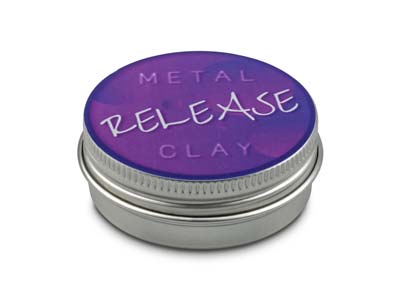
Remove your PMC from the packaging and select a marble-sized piece of 4–5g. Place on a non-stick mat with two plastic strips either side. Use a rolling pin to roll out your clay to a thickness of approximately 3mm. Place your stamp or texture sheet over your clay and gently apply pressure to leave an impression in the clay. You can use metal balm on your rolling pin, fingers and stamp to help stop the PMC sticking.
Step 3

CUT YOUR SHAPE AND DRY
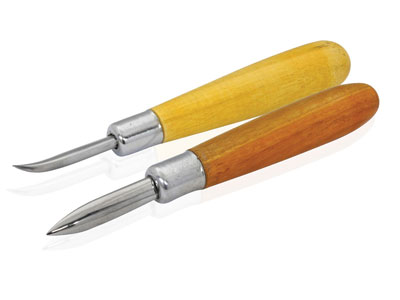
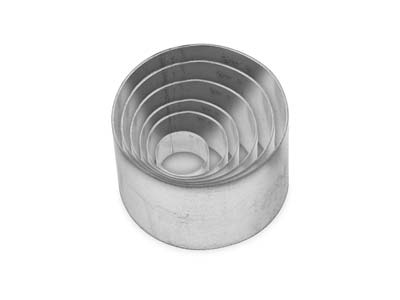
Use a round cutter or scalpel to cut out a circle shape and use a pick or blunt instrument to make
a hole at the top. Remove your PMC pendant from your mat and leave to dry in a warm room
for 24 hours.
Step 4

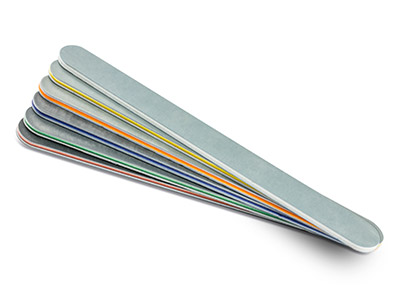
NEATEN AND SMOOTH YOUR PENDANT
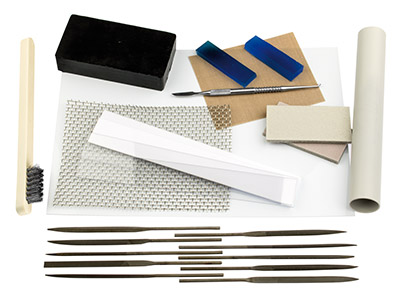
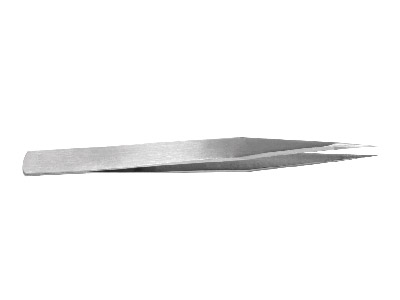
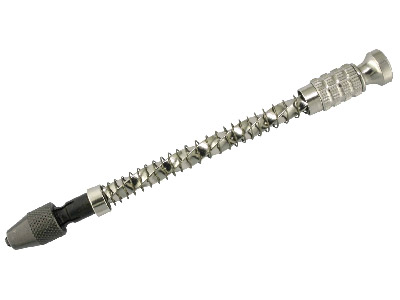
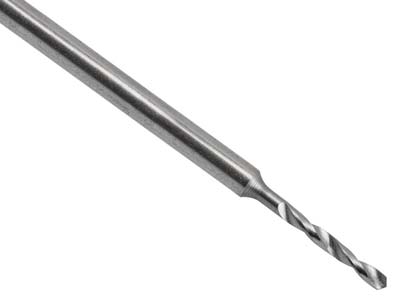
Use emery paper or needle files to remove any rough edges and gently sand the reverse of
your pendant. Use a drill piece to gently even out your hole. PMC can be brittle at this stage so be gentle. Filing and smoothing your pendant at this stage will save filing and sanding it when it’s fired.
Step 5

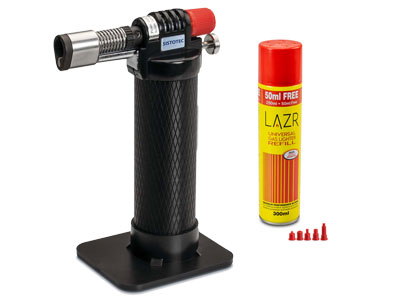
BLOWTORCH YOUR PENDANT AND COOL
Using a blowtorch, fire your PMC pendant. The binder in the clay will burn away and the PMC will
brighten and glow. At this stage, hold the heat for 2–3 minutes. Leave to cool. The PMC will shrink
in size by about 10–15%. This varies depending on the brand and type – check the instructions
for details.
Step 6

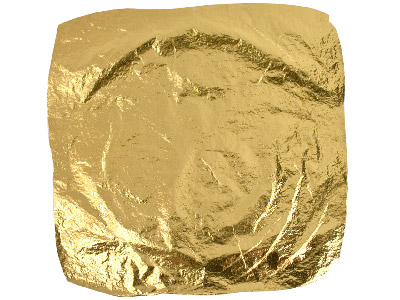
CUT YOUR GOLD FOIL
Cut out a disc in Gold foil the same size as your pendant.
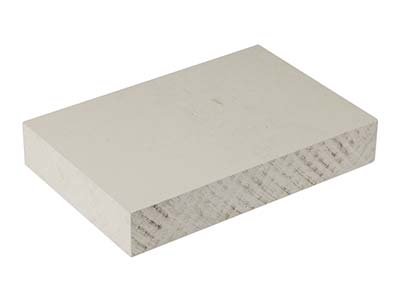
Step 7

FUSE YOUR GOLD FOIL AND PENDANT
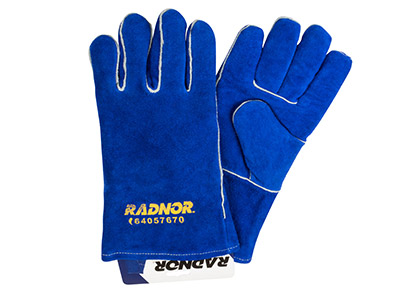
Switch on your electric hotplate and place your pendant on top. Place your Gold foil on top and use an agate burnisher or steel burnisher to apply pressure to the Gold foil so it fuses to the surface of your pendant. Be careful as your metal will get very hot. Wear heat-resistant gloves for extra protection.
Step 8

SHINE YOUR PENDANT
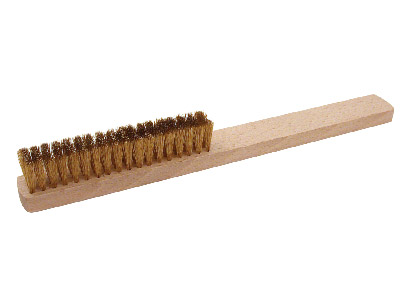
Once cool, use a brass brush to shine up the reverse of your pendant and remove any loose Gold foil to reveal some of the Silver below.
Step 9

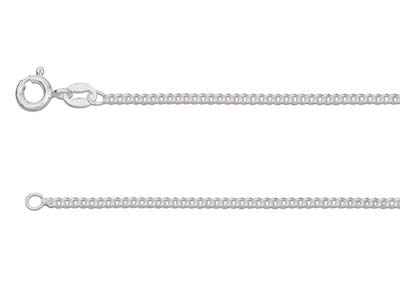
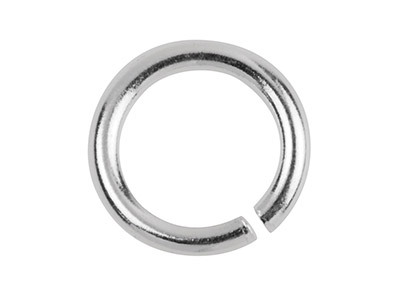
THREAD AND SOLDER FOR A FINISHED PENDANT
Grip either side of your jump ring using pliers and twist to open it, then add your pendant. Reverse the twisting process to close your jump ring. Thread your pendant onto a chain and solder the jump ring closed.
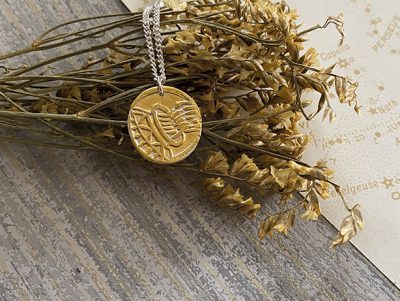
Your finished piece

We want to see what you have been making! Share your creations with us on social media, tagging in Cooksongold on Facebook, Twitter and Instagram.

Sian Brown
Sian has been hand making her award winning jewellery in the West Midlands for over 12 years. Sian spent 10 years in Birmingham’s historic Jewellery Quarter before relocating to a quiet Worcestershire village.